
I decided that I wanted a runner, not a shelfer, so I wasn't looking for something in perfect condition. Eventually I bid and won this nicely used model. These pictures are from the original auction:


It came with an old Futaba Attack 2-stick radio system, NiCd 6 cell stick battery of unknown capacity, the original box and some of the leftover parts trees and other items from the original build. Unfortunately it did not come with a body or wing, but the original decals were included with only a thin strip of clear decal missing. The missing strip of decal was used to hold the receiver to the rubber band that was holding the receiver to the chassis per step 22 in the instruction manual and does not affect the rest of the decals on the sheet. The original builder appeared to have followed the manual quite closely.
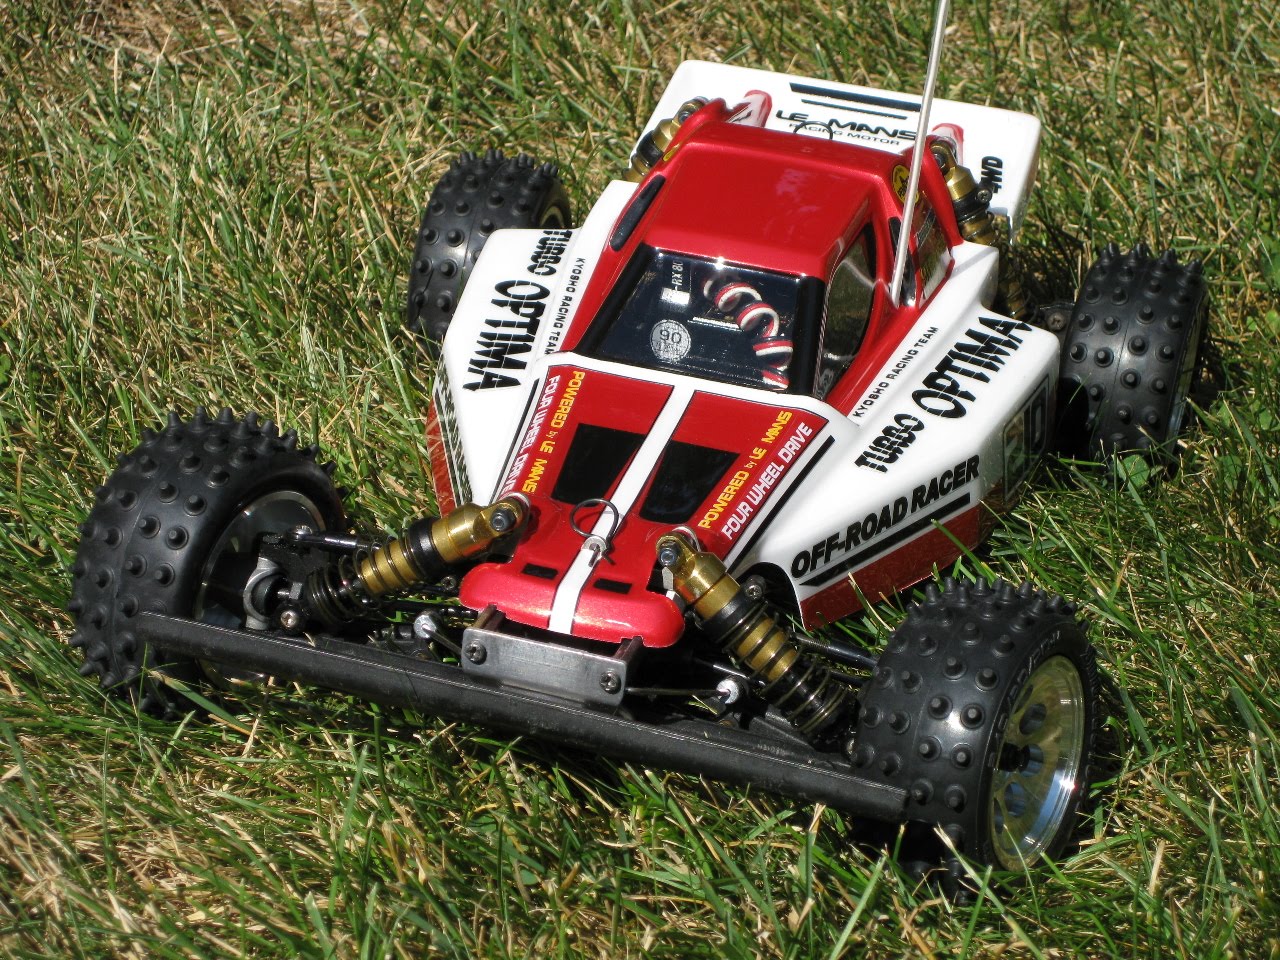
Once I received the chassis, I took some more pictures before disassembling everything. The chassis was dusty and it was obvious that the buggy was used, but definitely not abused. No parts were broken or missing except for the body and wing.


 |
| The stock Le Mans 05 motor was included and in great condition. |
In the next picture you can see the yellowed wheels. It seems to be very common to find Raiders with white wheels that turned yellow over time due to UV exposure. I think I will try to whiten the wheels, but I'm not sure if I want to try putting the wheels in a bowl full of hydrogen peroxide left out in the sun, or just spray paint the wheels white. I've read about bad experiences some people have had using hydrogen peroxide to whiten wheels so I am hesitant to try it.


After taking the chassis apart, I snapped a picture of the major plastic chassis components before cleaning:

All of the metal parts were thoroughly cleaned in motor cleaner to remove all old oil, grease, dirt and other gunk. Here is a shot of the cleaned metal parts ready for reassembly:

All of the gears were in excellent condition and no cracks or stress marks were found in any of the plastic chassis parts. The dogbones and drive cups were not worn, so I did not need to replace anything.
Here are some box side panel shots:


The next step is to follow the original instruction manual in order to rebuild the chassis. After that, I will need to get a reproduction body and wing.
Enjoyed the review! I hope to get my 25 year old turbo raider I just got out of my parents basement up and running too... along wit an Ultima Pro XL and a Big Brute!
ReplyDelete